
Developing SharePoint App on Office365 : Part 3 - Provider hosted Apps
This SharePoint App is actually an ASP.Net application hosted on the different server (outside SharePoint environment) which is accessible through Site Contents of the Site collection.
Creating Provider Hosted App
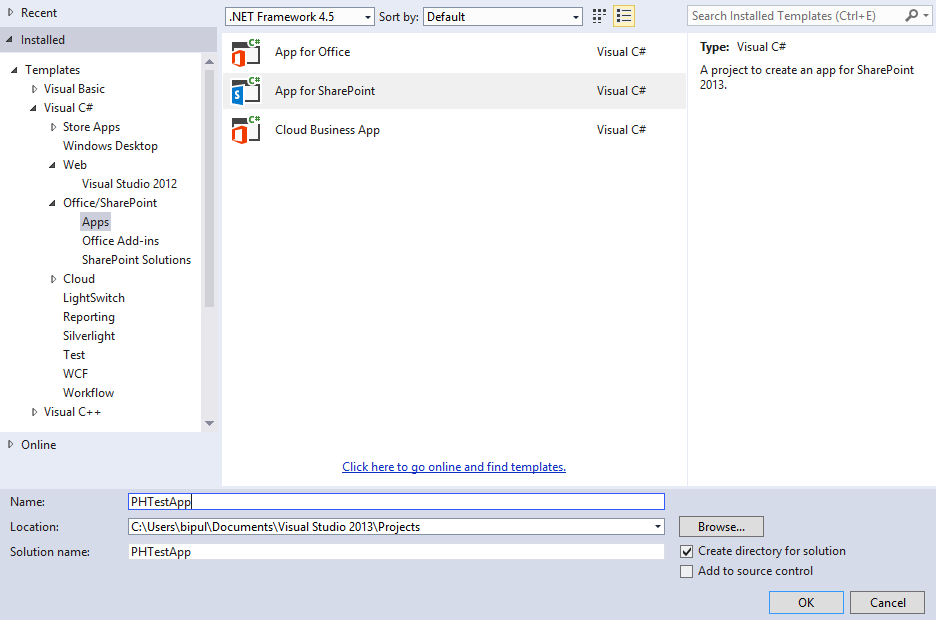
- Create a new project by selecting this option as described in screenshot:
- Enter your SharePoint Site URL and select hosting as Provider-hosted as described in below screenshot:

- Select the appropriate SharePoint version

- Select type of application you want to create. It can be any one of the following:
a. ASP.Net Web Forms Application
b. ASP.Net MVC Web Application
Here we are proceeding with a very simple ASP.Net MVC Application.
- Click on next and select ‘Use Windows Azure Access control service’ and then click on Finish.

- A login box will appear asking to Sign-In to Office 365 Account. Follow that and login using that. It will create a connection of your project to your SharePoint online site on office 365
- Code your MVC appliocation end using C# (CSOM) and JavaScript (JSOM)
- Open AppManifest.xml and set the permission as described in screenshot. Permission may be anything e.g. - read, write, full control based on the requirement of your app

- Right Click on solution and click on “Deploy Solution”
- Click on “Debug” option to run the Application on localhost. A new tab will be opened in the browser and it will be asking permission to trust the application. Click on “Trust It” and move ahead
- Your SharePoint Hosted App is ready to use on localhost for debugging
Deployment Steps:
- We are assuming to make a deployment of App on Azure. So first we need to create a blank website on Azure. That would be something like this - bipulraman.azurewebsites.net
- There will be two part in the solution. The first/upper part will be for SharePoint App and the second one will be ASP.Net web app.
- Register your app with AppRegNew.aspx (i.e. the page which can be found at /_layouts/15/appregnew.aspx). Click on Generate button to get Client ID and Client Secret. Make a note of all the info you save on this page

- Update the new Client ID and Client Secret in AppMenifest.xml and web.config
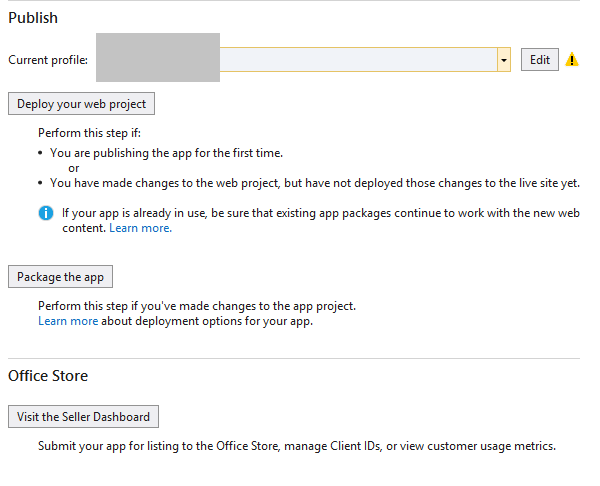
- Select the ASP.Net Project of the Provider hosted app solution, Right click and Publish
- Select Microsoft Azure Web Apps to publish

- A login page will appear. Enter the same credential which you are using for SharePoint on Office 365.
- Select the Web App which you have created on Azure, and Publish.

- Right click on SharePoint App Project of the solution of Provider hosted app.
- Cick on Edit option and fill the client ID and Client Secret
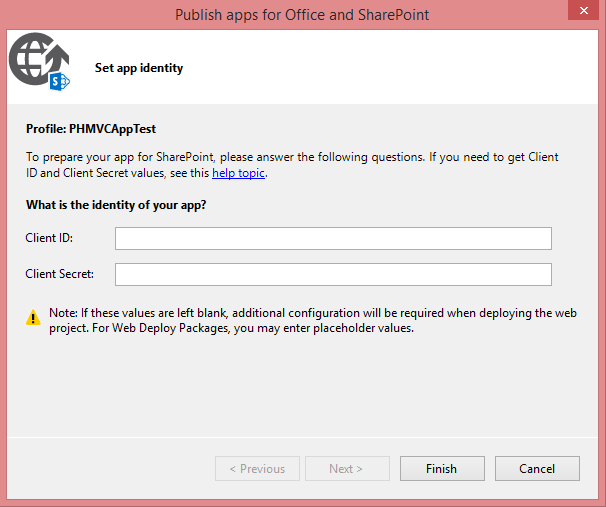
- Lastly, Click on Package the App
- After publishing, you will get a .app file. example: bipulraman.app
- Open Site contents and go to Apps in Testing list. Upload the app package (*.app file) and Deploy.
** We are using this for testing out app before releasing it to all users. Please Note: 'Apps in Testing' list is available only in Developer Site Template.
- Alternatively or for release purpose you can upload it in 'Apps For SharePoint' list
in App Catalog Site collection. App Catalog site collection can be
configured from Central Admin >> Apps. Once you upload app in 'App
For SharePoint'. For App installation , Go to Site Content >> Add an App >> Select the App and add it.

- Your Provider Hosted App is ready to use.